3 Steps For Controlling Your RGB Lighting On Your PC
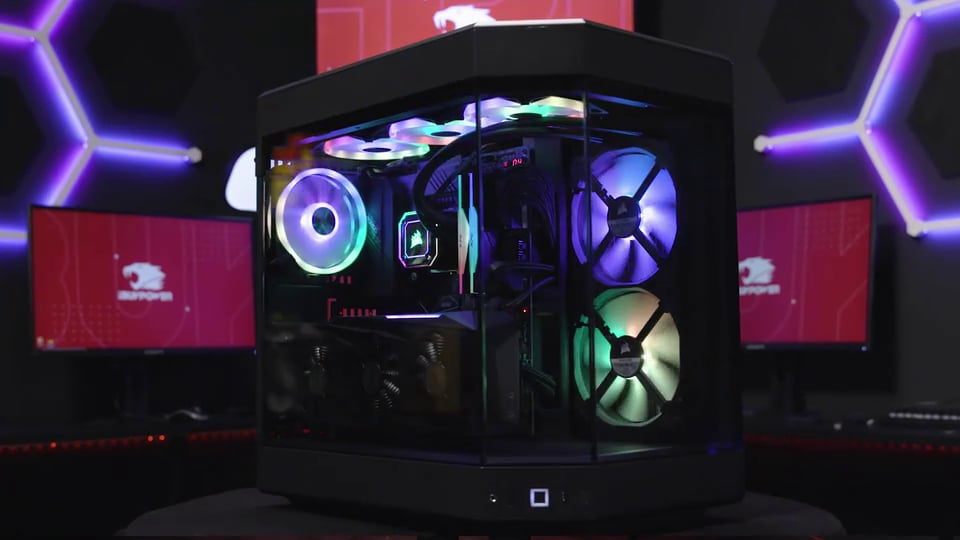
RGB lighting has become one of the defining features of modern PC builds, but it’s not just for looks. It can impact the overall aesthetic of your gaming setup.
Adding RGB to gaming PCs is exciting for anyone looking to customize their build, but it can easily become difficult. There are numerous programs to download and colors to choose from, making it easy to get lost and confused. For those who need some extra guidance, our guide can help break down how to control the RGB lights in a PC.
What is RGB Lighting Software?
RGB lighting is a system using the colors red, green, and blue to create a wide array of vibrant color combinations. By blending varying intensities of these primary colors, RGB lighting systems can produce over 16 million distinct hues, allowing for stunning visual effects and customization options. This RGB software allows users to select lighting colors, effects, and synchronization settings for a customizable light show.
Some of the most common RGB components include:
Case fans and LED strips (interior and underglow lighting)
RAM modules (often with diffused RGB bars)
Motherboards and GPUs (edge and logo lighting)
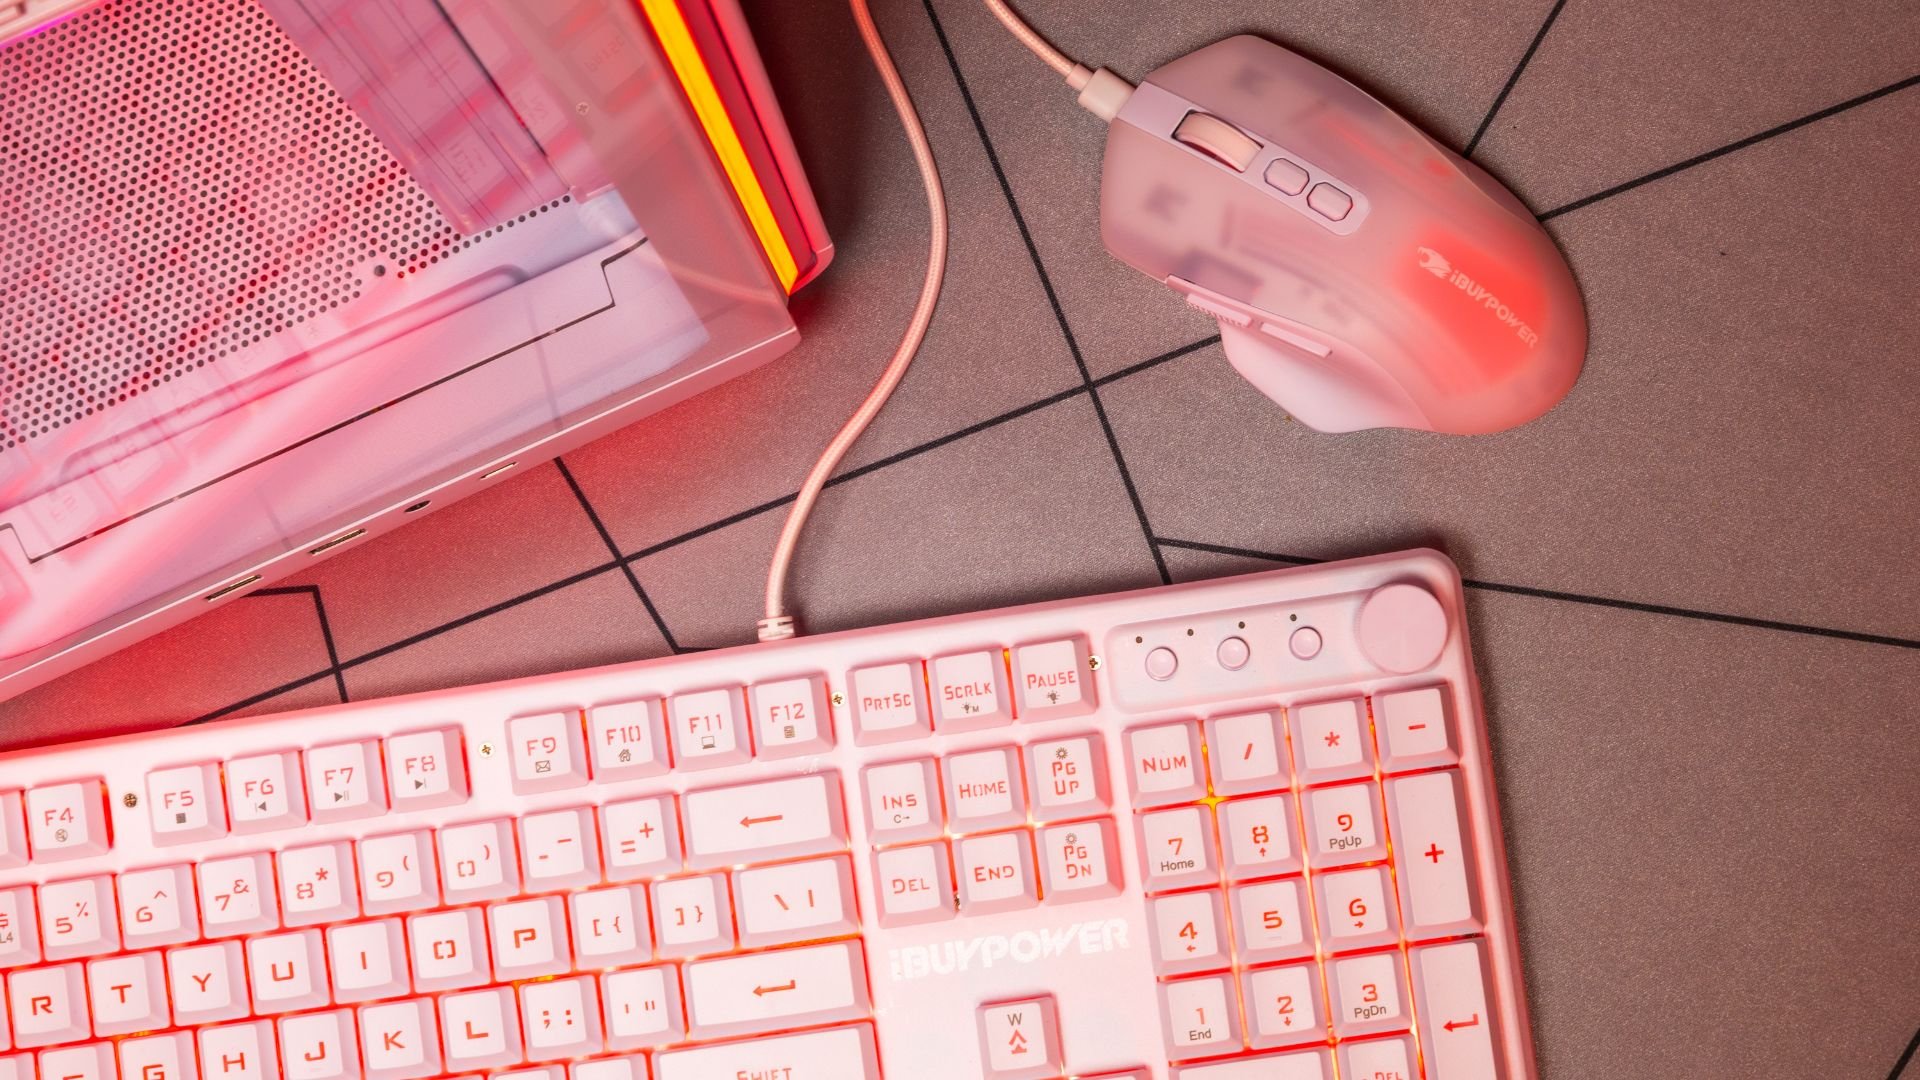
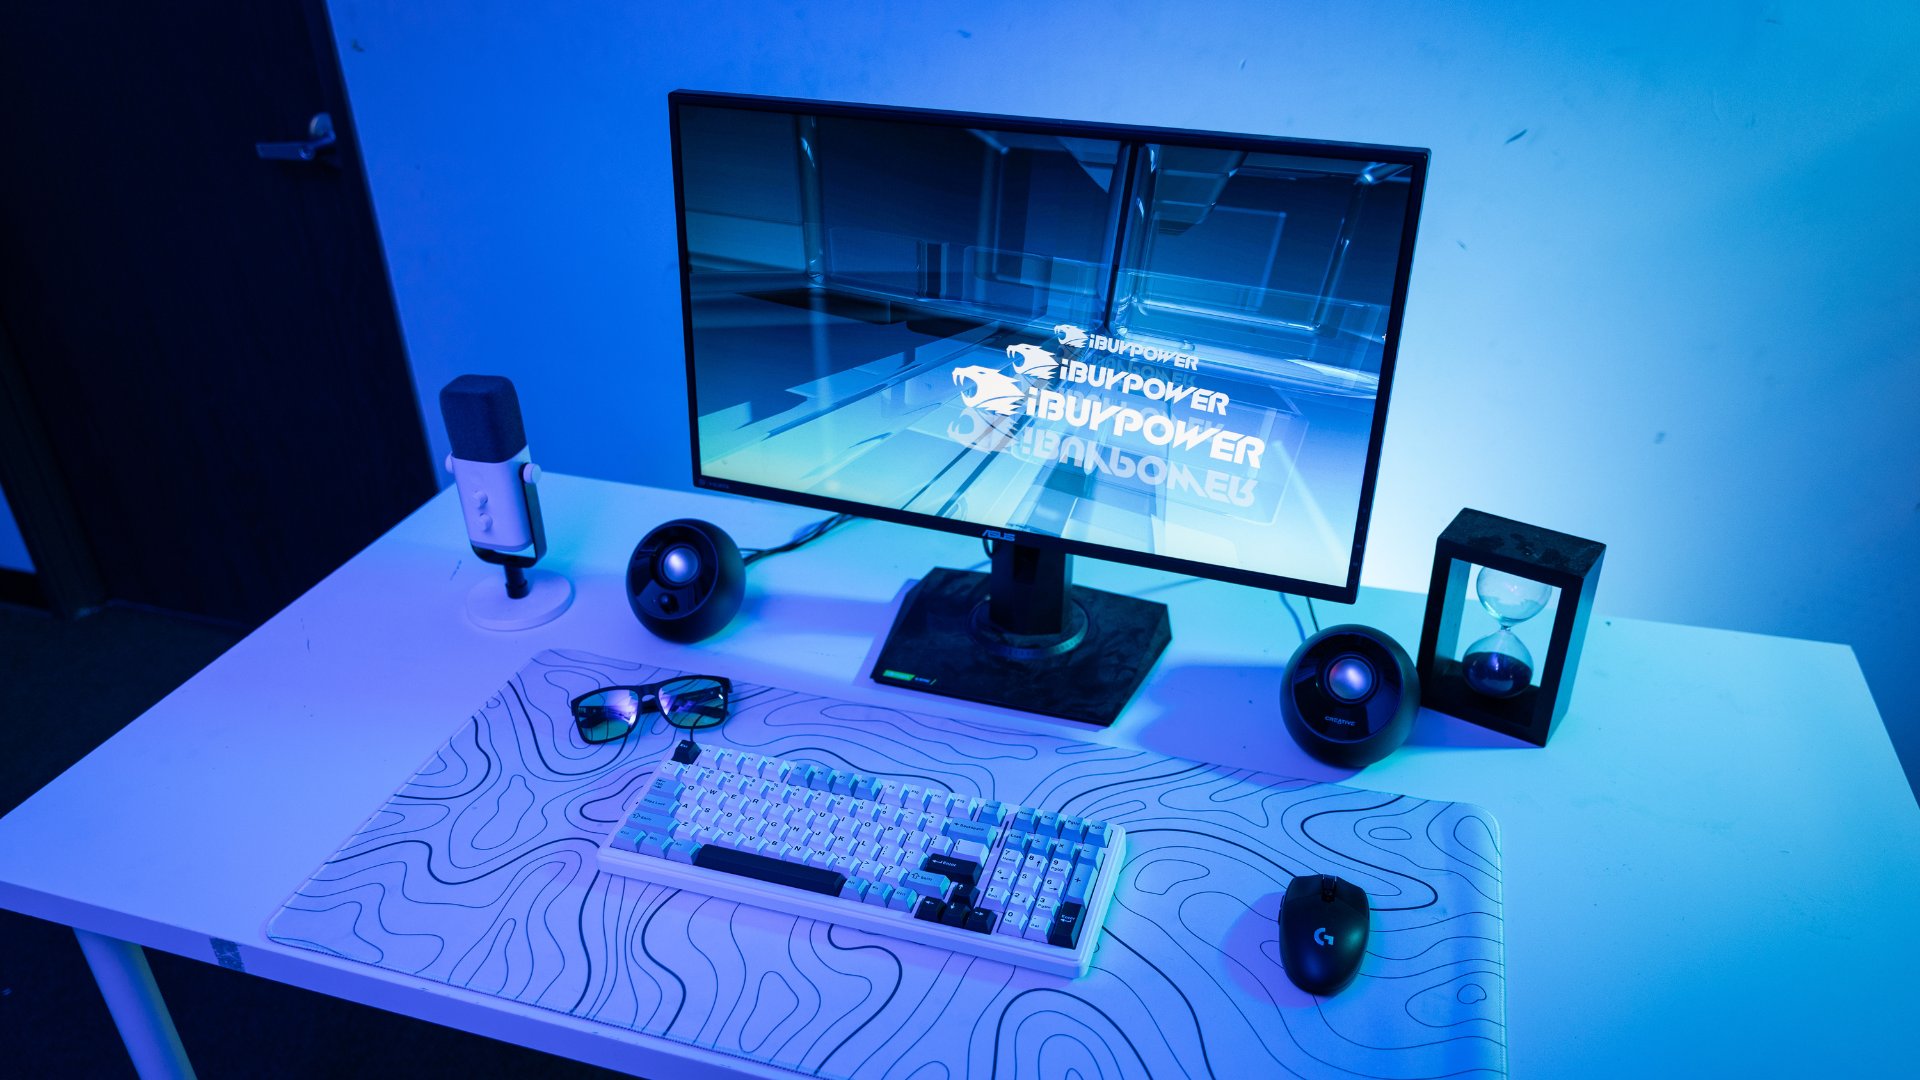
Peripherals like mice, keyboards, and headsets
Although these lights are a terrific addition to any gaming setup, anyone who’s new to building a gaming PC might have a hard time figuring out the RGB lighting control. But once it’s all figured out, the result will be worth it.
How to Control RGB Lights in a PC
Controlling RGB lighting has become increasingly streamlined and user-friendly in recent years, thanks to advancements in motherboard technology and the standardization of RGB connectors. These innovations allow users to have multiple options for customizing and synchronizing their RGB components for stunning lighting effects.
One method to control the RGB lights inside a PC is to opt for standalone RGB controllers to centralize control of multiple RGB components. These controllers typically require a USB header connection to the motherboard for communication and a SATA connector for power.
The most common method for RGB lighting control is through the motherboard manufacturer’s software. By connecting RGB components to designated headers on the motherboard, users can easily use the manufacturer’s software to adjust colors, brightness, and effects.
Here are the three main steps on how to change RGB lights on a PC:
Step 1: Identify the RGB ecosystem
The first step in controlling the RGB lights on a PC is to identify which RGB control software corresponds with which components (such as fans) by looking into their compatibility with the motherboard. Some examples include MSI’s Mystic Light, Gigabyte’s RGB Fusion, ASUS’s Aura Sync, and ASRock’s Polychrome SYNC.
The RGB peripherals also have their own programs. HYTE Nexus, Razer Synapse, and NZXT Cam are some examples of RGB control software for peripherals. Some components may not even require software and can be remotely controlled.
Step 2: Download the Necessary Programs/Drivers
After identifying the RGB “family” to which all the components belong, download their respective software and drivers.
Not all components and accessories will fall under the same lighting ecosystem, so it is possible to download several programs to ensure full RGB lighting control. Third-party programs are also available to help connect all the lighting into one software to control the PC’s RGB lights.
With an iBUYPOWER gaming PC, you can download our iBUYPOWER RGB software to get started customizing.
Step 3: Customize and Create!
Now that everything is connected, it’s time to customize the lighting.
There are many ways to change the PC lighting. Most programs allow users to change the lighting style, color, effect, brightness, and even lightspeed. Knowing how to control the RGB lights in a PC can help create and enhance the gaming experience, depending on the user’s preferences.
At iBUYPOWER, our gaming PCs feature LED control, making them perfect for themed builds.

Common RGB Lighting Control Issues
Being able to customize your gaming setup is great, but RGB software is not always perfect.
Here are a few common issues with RGB lighting control and how to address them:
RGB software not detecting hardware: This issue can happen if the component isn’t compatible with the installed software or if the device isn’t connected correctly. Double-check the power connections, USB headers, and that the software actually supports your specific model.
Conflicts between multiple RGB apps: Running two RGB programs simultaneously can cause detection issues or erratic lighting. Try disabling or uninstalling competing software for the best results.
Updating BIOS, firmware, and software: Compatibility problems can often be fixed by updating the motherboard’s BIOS, device firmware, or RGB software to the latest version since manufacturers routinely release updates.
Lights that are stuck or flickering: Flickering lights may be caused by poor power delivery, a faulty LED, or software bugs. Start by resetting the lighting profiles or switching to a different USB header. If the problem persists, check with the manufacturer’s support for possible RMA or firmware tools.
Troubleshooting RGB lighting control issues can be frustrating, but most problems are usually easy to resolve without needing to replace any components. Once everything is running smoothly, you’ll have a personalized, synchronized lighting experience that truly brings your PC setup to life.
How to Change RGB on an iBUYPOWER PC
With an iBUYPOWER PC, RGB is made easy. Our prebuilt system gaming PCs contain expertly installed RGB and quality control. Once it’s plugged in, it’s easy to customize the RGB using a pre-installed lighting program on the desktop.
Having trouble?
If you’re still struggling to figure out how to change the RGB on your iBUYPOWER PC, refer to the video below!
At iBUYPOWER, we have plenty of high-quality PCs and gaming laptops at great prices. Or, if you want to customize your rig, visit our PC builder to build something that fits your gaming needs. Visit the iBUYPOWER coupons page and gaming deals section to find the latest discounts.
To stay updated on all things iBUYPOWER follow us on our socials
Instagram iBUYPOWER
Facebook iBUYPOWERPC
TikTok @iBUYPOWER
Reddit /r/iBUYPOWER
Discord iBUYPOWER